Deco M9 Plus setup guide for TM Unifi (Dynamic IP mode)
TP-Link Deco M9 Plus is a Tri-Band AC2200 mesh Wi-Fi system that will give you better Wi-Fi coverage and faster speed for your entire home. It eliminates Wi-Fi dead zone in your house with just one Wi-Fi name throughout the entire home.
Please follow this guide to configure the Deco M9 Plus to work with TM Unifi with the Dynamic IP mode. The Dynamic IP mode will work together with the existing router and it is easier to setup.
Before you begin:
You will need the following:
TP-Link Deco M9 Plus 2 pack or 3 pack
An Android or iOS smartphone
Working Internet connection on the router provided by TM Unifi.
Setup of the main Deco M9 Plus
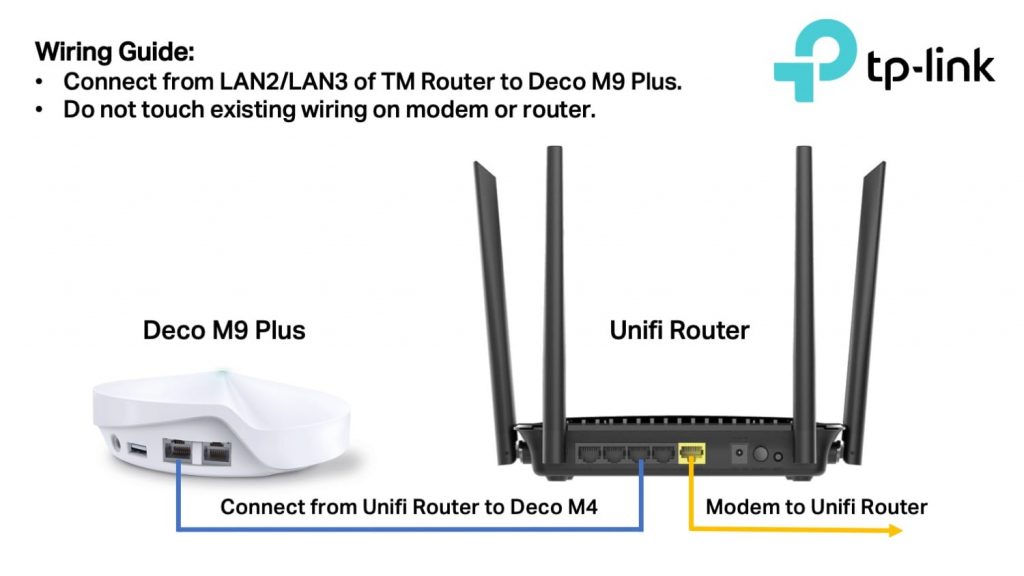
Step 1: Connect Deco M9 Plus to existing router
Choose a location for the main Deco M9 Plus
The main Deco M9 Plus will need to be connected to the wireless router to be connected to the Internet.
For a stronger signal, place the Deco M9 Plus at an open area like on a shelf or a TV stand.
Avoid putting it in an enclosed shelf or near metal objects that may block the Wi-Fi signal.
Connect the provided Ethernet cable from LAN2 / LAN3 of your wireless router to just one unit of Deco M9 Plus. This will be the main unit.
Plug the provided power adapter from the box into just themain Deco M9 Plus and switch on the power.
Your Deco M9 Plus is ready for setup process if the LED indicator is blinking blue.
Step 2: Download the Deco app for Android or iOS
Download the “TP-Link Deco” app from the Google Play Store or Apple App Store. You’ll need the Deco app to setup or manage the Deco Mesh Wi-Fi system. You won’t be able to use a computer to perform the initial setup.
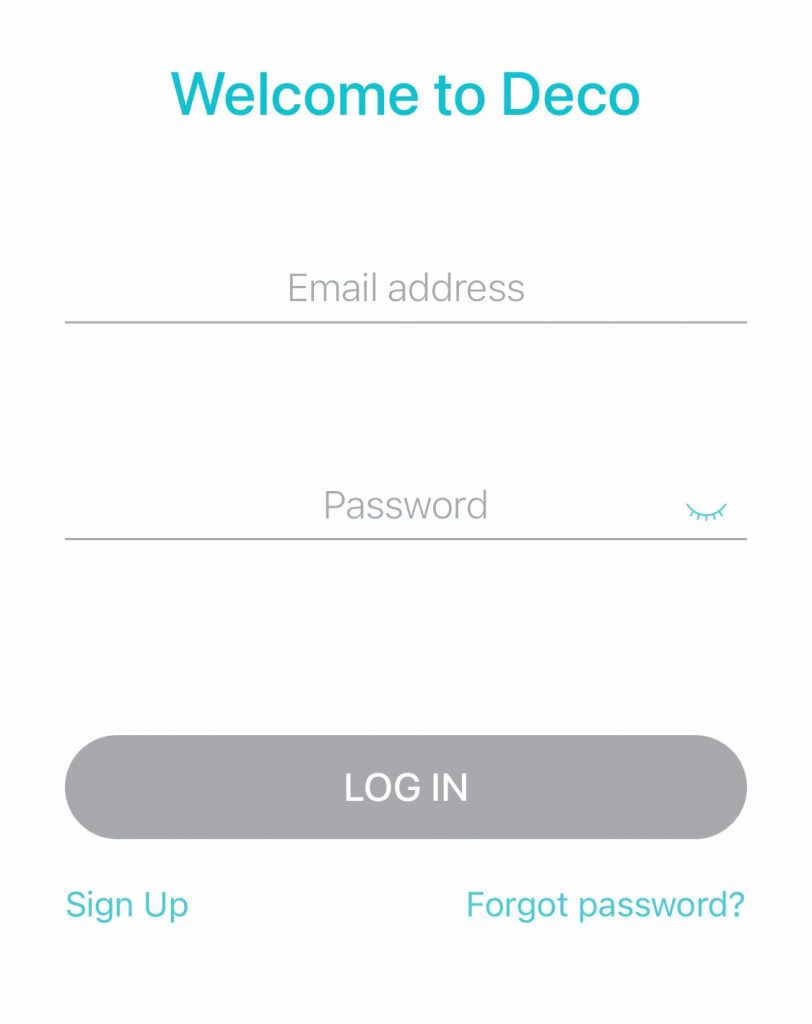
Step 3: Create a TP-Link account
You’ll need to create a TP-Link account. By default, we will send an email verification link to your email address. Please click the link on your email account to verify your email address.
Step 4: Create your Deco Mesh Wi-Fi network
Now that you’ve got everything up and ready, you can use the Deco app to perform the initial setup.
Select the Deco M9 Plus model.
Please ignore this step as we already done the wiring for TM Unifi and click NEXT.
Please ignore this step as we already done the wiring for TM Unifi and click NEXT.
Please ensure the Internet status indicator is green or stable on your existing wireless router. Click “INTERNET LED IS STABLE“.
Make sure the status indicator on your Deco M9 Plus is blinking blue and click the button.
If the LED is a steady red color, please reset the Deco M9 Plus by pressing reset button while the unit is switched on.
Select where the main Deco M9 Plus is located.
Make sure Dynamic IP is selected then click NEXT.
Ensure the “Keep Default MAC Address” option is selected and click NEXT.
Insert your desired Wi-Fi name and password for your new mesh Wi-Fi network. Please use a different name from your previous Wi-Fi network to prevent conflict. Click NEXT once completed.
Your mesh Wi-Fi network have been created. You can click CONNECT to automatically connect to the mesh Wi-Fi network.
You can also connect manually with the Wi-Fi name and password you configured in the previous step.
The setup of your main Deco M9 Plus unit is completed. Now, click “ADD ANOTHER DECO” to link your reamaining Deco mesh node.
Steps:
Put the second unit next to the main unit during setup process.
Connect the second unit to the power adapter and switch on the power.
The second unit is ready for setup when the light is blinking blue.
Step 5: Adding the deco mesh node on the Deco app
Choose Deco M9 Plus.
The app will guide you where is the best placement of the second unit once the setup is completed. Click NEXT once done.
Make sure the mesh node is switched on. Click the the “DECO’S LED PULSING BLUE” button when the second unit is blinking blue.
Select where the second unit is located.
The setup of the second unit is completed. Click I’m done now.
You can view all your Deco(s) of your system by clicking Internet. Ensure all units are linked and visible on this page.
Make sure you see all the units here, it may take a while for them to be connected.
Step 3: Move the Deco mesh node to your desired location
Now the second unit is linked to the main unit, you can move it to another spot in your house to expand the signal.
Choosing a location for the Deco M9 Plus mesh node
The second unit will be connected to the main unit wirelessly without Ethernet cable using the dedicated 5Ghz backhaul.
For a stronger signal, place the second Deco M9 Plus at an open area like on a shelf.
We recommend placing it one or two walls after the main unit for the best Wi-Fi experience.
Still facing issues?
Give us a call at 1300-22-8887. We’ll get back to you as soon as possible.